This was such a fun project for our preschool to do. We practiced all sorts of skills like cutting, and gluing. We began the day by tracing everyone's hand on a piece of black construction paper that we folded in half and stapled, giving us two of each. These will be the bats wings.

In the center you will see a white circle. This is stapled onto a black piece of construction paper the same size. That way the children can have a nice thick black line to see when they cut the circle. Throw the white one away, and keep the black on for the bats body. Glue one of each of the hand print cut outs to either side of the body.

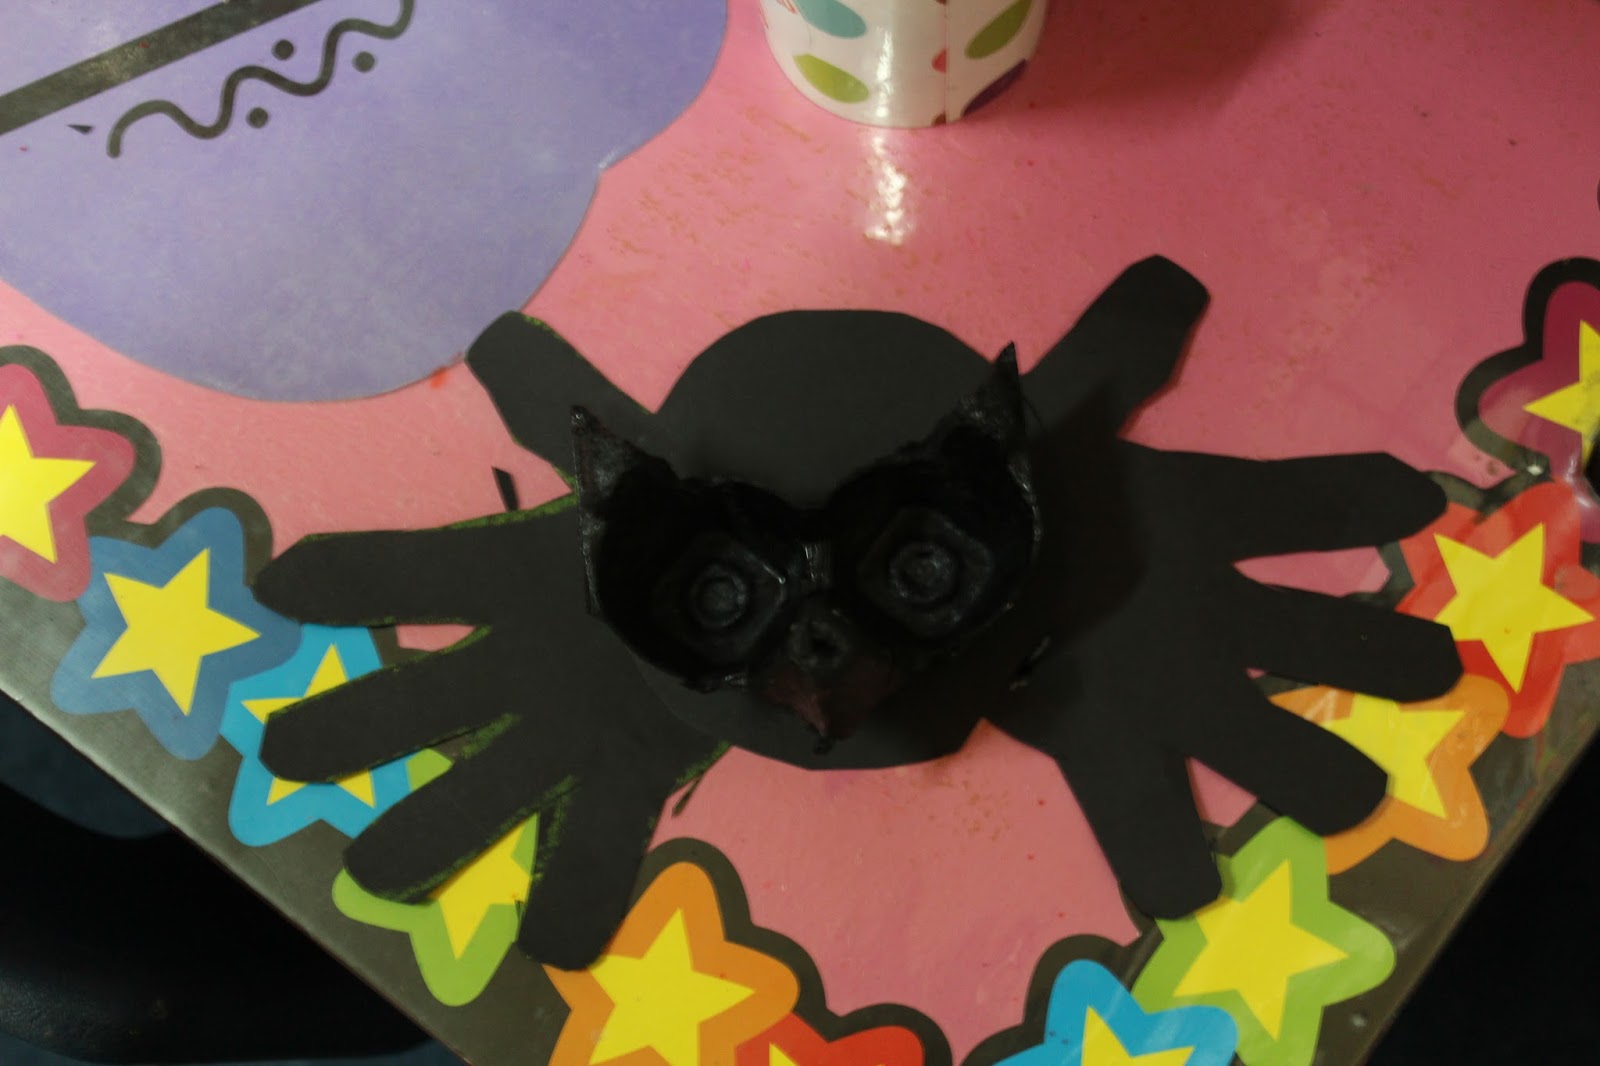
Above is the pre painted version of the eyes. We recommend the cardboard egg cartons with the long pointed centers. They make the perfect bat noses!
Below you can see that but cutting a little extra, you can give your bat cute little ears to go with his long pointy nose.

Glue his face on the body and your bat should be coming together!

We love seeing how each child adds a little bit of their own touch to each of their bats. For the moon, we pre-tied strings to yellow circles and let the children cut out the rest of the way. We also happened to be learning about the letter Cc this week so they each finished it off by cutting out their "C's".

Finally, for the best part! The red spooky eyes. Just add a some glue dots and shake in the red glitter!

Aren't they the cutest little spooky bats?! Comment below with how your preschool does black week! We'd love to see! Thanks for stopping by the Bearly Ready for Threeschool Preschool Blog!
No comments:
Post a Comment